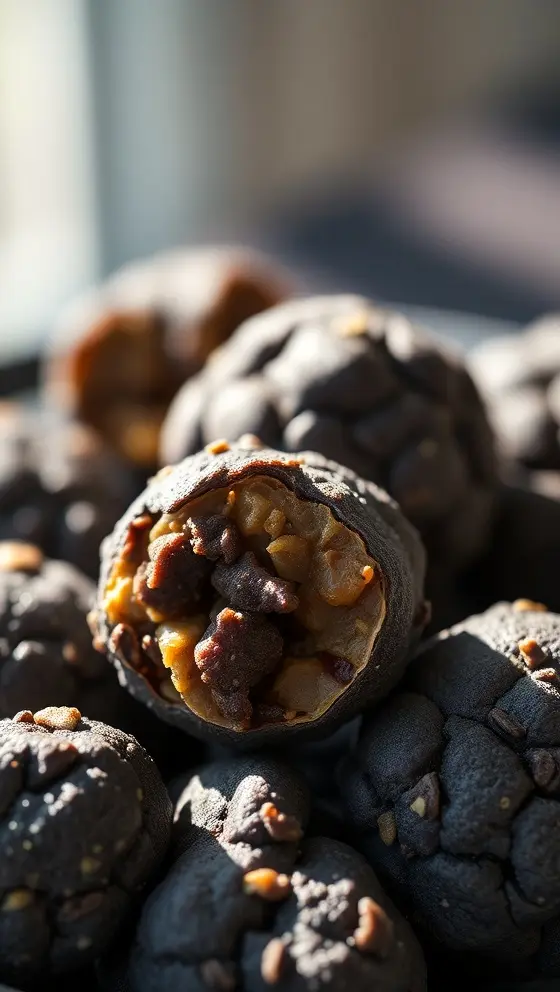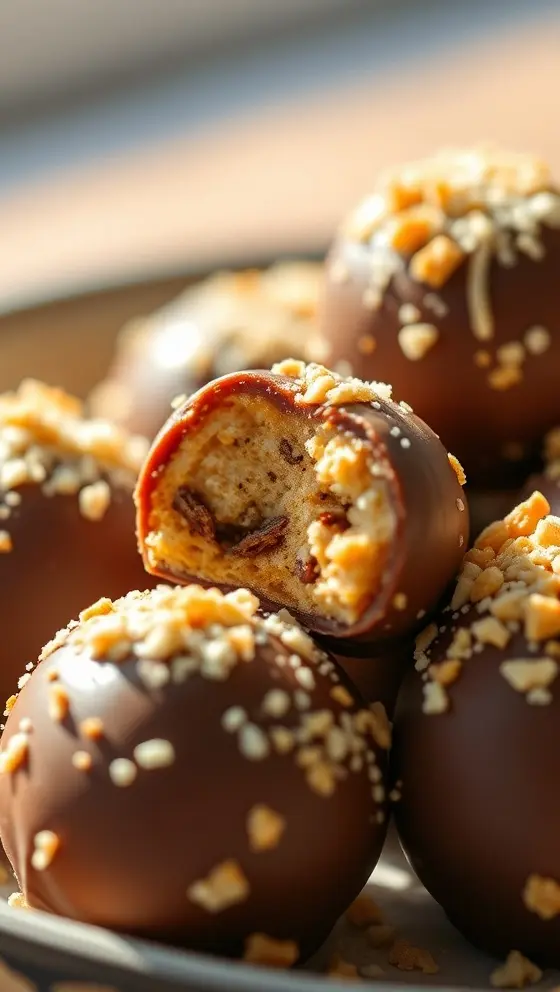
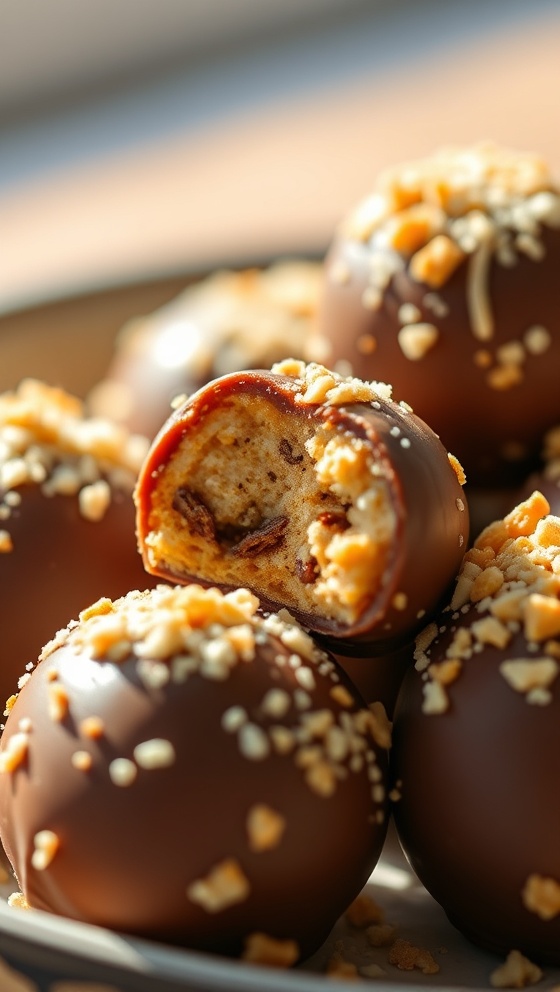
No-Bake Butterfinger Balls
Introduction
Creating delightful treats doesn’t always have to involve extensive baking sessions. One perfect example of this is the No-Bake Butterfinger Balls. These little bites of joy combine the irresistible taste of peanut butter, the crunch of crushed Butterfinger bars, and a rich chocolate coating, making them a wildly popular option for both celebrations and casual gatherings. What’s more, they are incredibly easy to make, requiring just a handful of ingredients and minimal effort. In this blog post, we’ll take you through a comprehensive guide on how to whip up these delectable gems, all without turning on the oven.
Ingredients List
Before diving into the fun part, let’s gather our ingredients for the No-Bake Butterfinger Balls. You will need:
– 1 cup creamy peanut butter
– 1 cup crushed Butterfinger candy bars (about 4-5 bars)
– 2 cups powdered sugar
– 1 teaspoon vanilla extract
– 2 cups chocolate chips (for melting)
– Optional: Sprinkles or crushed nuts for decoration
This simple list includes everyday staples that make these treats accessible. The result? A blend of flavors and textures that satisfies sweet cravings in a matter of minutes.
Timing
The beauty of No-Bake Butterfinger Balls lies not only in their simplicity but also in the speed with which you can prepare them. The time involved is roughly as follows:
– Preparation Time: 15 minutes
– Chilling Time: 30 minutes to 1 hour
– Total Time: Approximately 45 minutes to 1 hour and 15 minutes
This delightful recipe allows you to whip up a tasty snack that’s perfect for impromptu gatherings or a sweet treat to enjoy after dinner.
Step-by-Step Instructions
Now, let’s get into the step-by-step instructions for making your No-Bake Butterfinger Balls. You’ll find this process straightforward and gratifying, ultimately leading to delicious results.
1. Mix the Base: In a large mixing bowl, combine the creamy peanut butter, crushed Butterfinger bars, powdered sugar, and vanilla extract. Using a spatula or your hands, mix until everything is well incorporated. You should have a sticky mixture that easily holds together when pressed.
2. Form the Balls: Once the mixture is uniform, use a tablespoon or a small cookie scoop to portion out the mix, rolling it into balls about 1 inch in diameter. Place the formed balls on a baking sheet lined with parchment paper for easy cleanup.
3. Chill: Cover the baking sheet with plastic wrap or foil and place it in the refrigerator for 30 minutes to 1 hour. This will help the balls firm up so they can be easily coated in chocolate.
4. Melt the Chocolate: While the balls are chilling, melt the chocolate chips in a microwave-safe bowl. Heat in 30-second intervals, stirring in between, until the chocolate is smooth and fully melted.
5. Coat the Balls: Remove the chilled butterfinger balls from the refrigerator. Using a fork, dip each ball into the melted chocolate, allowing the excess to drip off. Return the coated balls to the parchment-lined baking sheet.
6. Add Finishing Touches: If desired, sprinkle crushed nuts or colorful sprinkles on top of the chocolate coating before it sets. This adds a nice visual appeal to your delicious creation.
7. Chill Again: Place the chocolate-coated balls back in the refrigerator for an additional 30 minutes. This will ensure the chocolate sets properly and holds its shape.
8. Serve and Enjoy: Once set, serve your No-Bake Butterfinger Balls on a decorative platter, and watch them disappear as your family and friends indulge in these delightful treats!
Nutritional Information
Let’s take a brief look at the nutritional information for one No-Bake Butterfinger Ball (based on the entire recipe making about 24 balls):
– Calories: Approximately 120
– Total Fat: 6g
– Saturated Fat: 2g
– Carbohydrates: 15g
– Fiber: 1g
– Sugar: 10g
– Protein: 2g
Keep in mind that while these bites are rich in flavor, they should be enjoyed in moderation as part of a balanced diet.
Tips
Achieving the perfect No-Bake Butterfinger Balls requires a few handy tips to ensure your treat comes out just right.
– Use Creamy Peanut Butter: For the best texture, stick with creamy peanut butter as it mixes easily with the other ingredients.
– Don’t Overheat the Chocolate: When melting chocolate, be cautious not to overheat it, as this can lead to a grainy texture. Stirring often will help maintain a smooth consistency.
– Chill for Better Coating: The extra chilling time for the balls before coating will make them firmer and easier to handle, ensuring a beautiful chocolate cover.
Alternative Methods
While the classic No-Bake Butterfinger Balls recipe is divine, there are alternative methods you might explore.
– Healthy Version: Substitute equal amounts of almond butter or cashew butter for a healthier twist, and use dark chocolate chips for a slightly bittersweet finish.
– Graham Cracker Crust: For added flavor and texture, consider mixing crushed graham crackers into the base mixture. This will give your balls a unique flavor profile and crunchy texture.
– Additions and Variations: Feel free to mix in bits of pretzels for some saltiness or add a drying and creamy filling for additional flavors. You can even explore flavor extracts like coconut or almond for unique spins on the recipe.
Common Mistakes to Avoid
While making No-Bake Butterfinger Balls is straightforward, there are common pitfalls to watch out for to ensure your treats turn out perfectly.
– Not Chilling Enough: Skipping the chilling times can make it difficult to shape and coat the balls effectively, resulting in a messy outcome.
– Incorrect Measurements: Be precise with your measurements, especially regarding the powdered sugar, as too much can result in overly sweet balls.
– Overmixing: Avoid overmixing the base mixture. You want everything combined without being overly processed, maintaining a good texture.
Conclusion
The No-Bake Butterfinger Balls are an irresistible treat that seamlessly combines flavor, ease of preparation, and delightful presentation. Quickly whipping up batches of these can lead to numerous happy faces, whether you’re hosting a party, bringing a dessert for a potluck, or treating yourself after a long day. Armed with this delightful recipe and following the easy step-by-step instructions, you can create these tasty little morsels with minimal effort and maximal impact on taste buds. So grab those ingredients, get started, and enjoy the satisfaction of having a delicious homemade treat ready in no time. If you enjoyed this recipe and are eager for more culinary adventures, be sure to check back frequently for new recipes on our website!
FAQs
1. Can I make these ahead of time?
Absolutely! You can make No-Bake Butterfinger Balls up to 3 days in advance. Just store them in an airtight container in the refrigerator.
2. Can I freeze them?
Indeed, these treats freeze well. Store them in an airtight container with layers separated by parchment paper. They can be frozen for up to 2 months.
3. What if I don’t like Butterfinger?
If you’re not a fan of Butterfinger, you can use other candy bars or mix-in ingredients like Oreos, Snickers, or even M&M’s to create your desired flavor profile.
4. How do I store leftovers?
Keep your No-Bake Butterfinger Balls in an airtight container in the refrigerator. They should last for up to one week, allowing you to enjoy them at your leisure.
Indulge in the joy of creating these No-Bake Butterfinger Balls today, and don’t forget to explore more recipes on our site to continue your culinary journey!
No-Bake Butterfinger Balls
Ingredients
- 1 cup creamy peanut butter
- 1 cup powdered sugar
- 1 cup crushed Butterfinger candy
- 2 cups chocolate chips
- 1 tablespoon coconut oil
Instructions
- In a mixing bowl, combine peanut butter, powdered sugar, and crushed Butterfinger until well mixed.
- Form the mixture into small balls and place them on a baking sheet lined with parchment paper.
- Melt chocolate chips and coconut oil together in a microwave or double boiler.
- Dip each ball into the melted chocolate, ensuring they are fully coated.
- Return the chocolate-covered balls to the baking sheet and refrigerate until the chocolate hardens.
Nutrition Information
- Calories: 120 kcal
- Protein: 3g