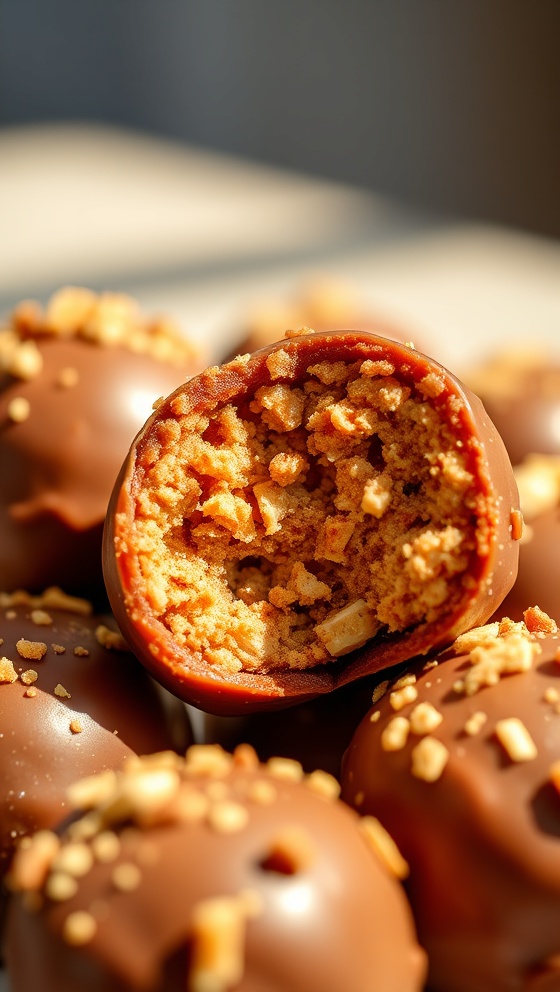
Butterfinger Balls
Introduction
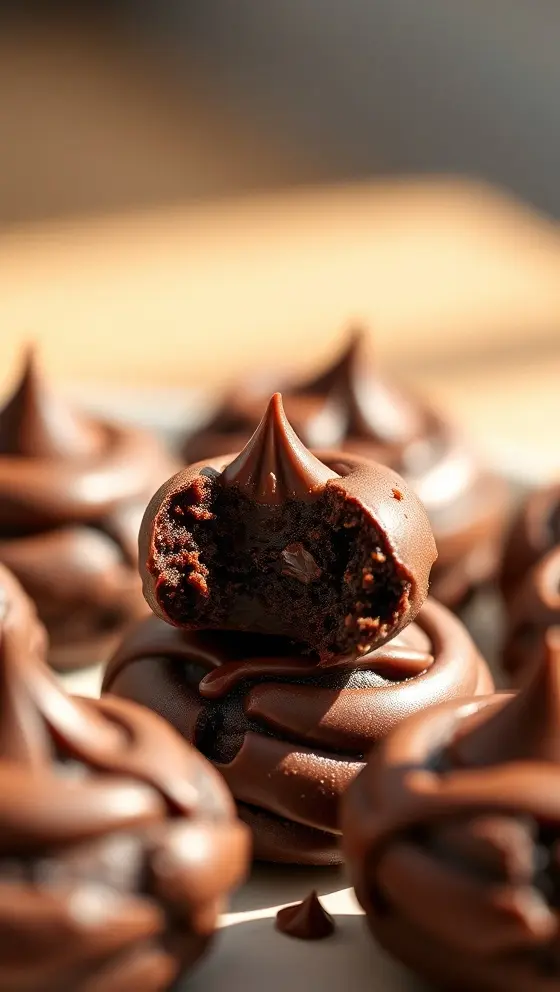
If you’re on the lookout for a fun and delightful treat that is incredibly simple to make, look no further than Butterfinger Balls. These delectable bites harness the unique crunchiness of Butterfinger candy bars, merging them with the creamy goodness of peanut butter and chocolate. This combination not only creates a mouthwatering flavor profile but is also easy enough for bakers of all skill levels to whip up at home. Imagine indulging in chocolatey, nutty morsels that have that perfect balance of sweet and salty—all without the need for baking! This blog post will guide you through the process of crafting these irresistible Butterfinger Balls, ensuring you’ll have a treat that’s a hit at parties, gatherings, or just for your personal indulgence.
Ingredients List
To make Butterfinger Balls, you’ll need a handful of simple ingredients. Here’s what you’ll require:
– 1 cup of Butterfinger candy bars, crushed
– 1 cup of creamy peanut butter
– 2 cups of powdered sugar
– 1 cup of chocolate chips (milk or semi-sweet, according to preference)
– 1 tablespoon of coconut oil (optional, for a glossy finish)
These ingredients come together to create the perfect blend of flavors and textures, making each bite a delightful experience that’s oh-so-addictive.
Timing
Creating Butterfinger Balls will take approximately 30 minutes from start to finish, allowing you to prepare them quickly and share them with family or friends. Here’s a simple breakdown of your timing:
– Preparation: 15 minutes
– Chilling time in the refrigerator: 15 minutes
This timing ensures you can make them at a moment’s notice, whether for a movie night or a sweet snack during the day.
Step-by-Step Instructions
Making Butterfinger Balls is a breeze if you follow these detailed instructions. You will see just how easy it is to create your own chocolatey treat!
1. Crush the Candy Bars: Begin by taking your Butterfinger candy bars and placing them in a sealed plastic bag. Using a rolling pin or a mallet, crush the bars until they’re in small pieces. Aim for a mixture of fine dust and larger chunks for added texture.
2. Mix Peanut Butter and Sugar: In a large mixing bowl, combine the creamy peanut butter and powdered sugar. Blend the ingredients until you achieve a smooth consistency. This step is crucial, as it will form the base of your Butterfinger Balls.
3. Add Crushed Butterfinger: Gradually incorporate the crushed Butterfinger pieces into the peanut butter mixture. Stir until even combined; you want to ensure every bite has that iconic Butterfinger crunch.
4. Form the Balls: With your hands, begin rolling the mixture into balls, roughly one-inch in diameter. You can adjust the size based on your preference, but keeping them similar will ensure even chocolate coverage later.
5. Chill the Balls: Once your balls are formed, place them on a baking sheet lined with parchment paper. Keep them in the refrigerator for at least 15 minutes to firm up. This step will make it easier to coat them in chocolate.
6. Melt the Chocolate: While cooling, melt the chocolate chips in a microwave-safe bowl. Heat in 30-second intervals, stirring in between until you achieve a smooth and pourable consistency. If using coconut oil, you can add it at this stage for extra shine.
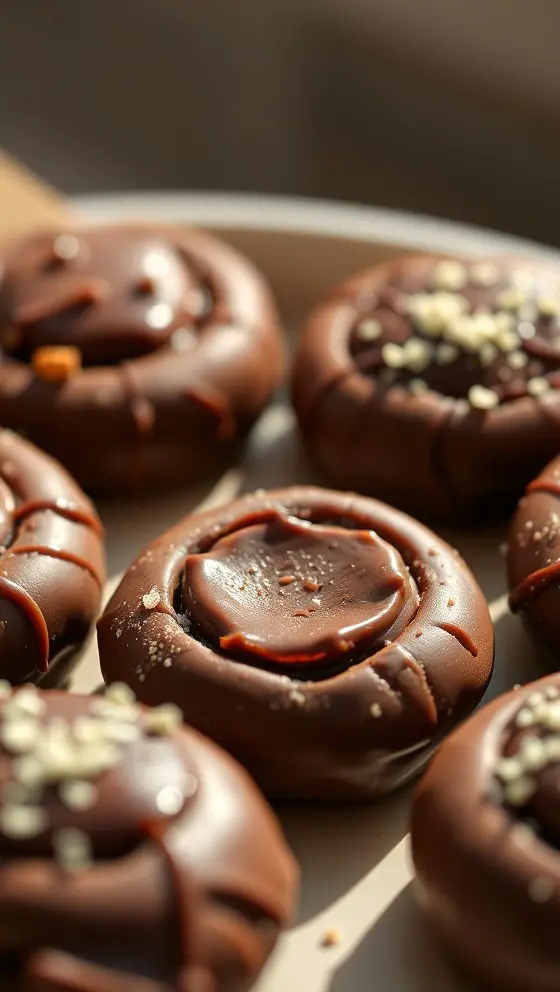
7. Coat the Balls: Once chilled, dip each Butterfinger ball into the melted chocolate. Use a fork to help coat them fully, allowing excess chocolate to drip off before placing them back onto the parchment-lined sheet.
8. Final Chill: Pop them back into the refrigerator for another 30 minutes or until the chocolate sets completely.
9. Enjoy and Share: Your Butterfinger Balls are now ready to be devoured! Serve them at parties, give them as gifts, or simply enjoy these treats at home.
Nutritional Information
Before diving into this delicious recipe, it’s essential to take stock of its nutritional value. Here’s the approximate nutrition information per Butterfinger Ball (based on 15 servings):
– Calories: 150
– Total Fat: 9g
– Saturated Fat: 3.5g
– Carbohydrates: 16g
– Sugars: 10g
– Protein: 3g
This nutrition breakdown makes them an indulgent treat best enjoyed in moderation as part of a varied diet.
Tips
To ensure your Butterfinger Balls turn out perfectly every time, consider these helpful tips:
– Use high-quality chocolate chips for a richer flavor.
– Ensure your Butterfinger bars are at room temperature for easier crushing.
– Experiment with different nut butters, like almond or cashew, for varied flavors.
– If the mixture is too sticky, add a bit more powdered sugar until you achieve a manageable consistency.
Alternative Methods
If you’re looking for variations or alternative methods to make Butterfinger Balls, here are some suggestions:
– Rice Krispies Addition: For extra crunch, consider adding a cup of Rice Krispies cereal to the mixture.
– Dairy-Free Version: Swap out the chocolate chips for dairy-free chocolate and use almond or sunflower butter for a nut-free option.
– Decorative Finishes: Once chocolate-coated, sprinkle crushed nuts or additional Butterfinger pieces on top for an appealing visual finish.
Common Mistakes to Avoid
To facilitate a smoother cooking experience, avoid these common mistakes:
– Rolling the balls too large, which may result in uneven chocolate coating.
– Not chilling enough before the chocolate dip, leading to the mixture losing shape.
– Using too high of a temperature when melting chocolate, causing it to become grainy or burnt.
Conclusion
Creating Butterfinger Balls is a delightful and straightforward process that can bring joy to any gathering or personal snack time. These treats, rich in flavor and texture, are an easy way to satisfy your sweet tooth. Trying out this recipe will undoubtedly elevate any dessert table, making it a favorite for any occasion. The fusion of Butterfinger with peanut butter and chocolate offers the perfect indulgence, ensuring each bite is nothing short of blissful. Don’t hesitate to return to our website for more exciting recipes that are just as easy and delightful to make!
FAQs
– Can I prepare Butterfinger Balls in advance? Yes, you can make the Butterfinger Balls ahead of time. They store well in the refrigerator for up to a week.
– How do I keep them from sticking together? Ensure proper chilling between each step, and store with parchment paper between layers if stacking.
– Can I use crunchy peanut butter? Absolutely! Crunchy peanut butter will add an extra layer of texture.
– Are there any nut-free alternatives? Try sunflower butter or another nut-free option to cater to allergies while reaping the delicious benefits of this treat.
Dare to treat yourself with these delightful Butterfinger Balls and enjoy the rewarding flavor that comes with each bite! Happy cooking!
Butterfinger Balls
Ingredients
- 1 cup creamy peanut butter
- 1 cup crushed Butterfinger candy
- 2 cups powdered sugar
- 1 cup chocolate chips
- 1 tablespoon coconut oil
Instructions
- In a mixing bowl, combine peanut butter, crushed Butterfinger, and powdered sugar until well mixed.
- Form the mixture into small balls and place them on a baking sheet lined with parchment paper.
- Melt chocolate chips and coconut oil together in a microwave-safe bowl.
- Dip each ball into the melted chocolate and return to the baking sheet.
- Chill in the refrigerator until the chocolate is set.
Nutrition Information
- Calories: 120 kcal
- Protein: 3g