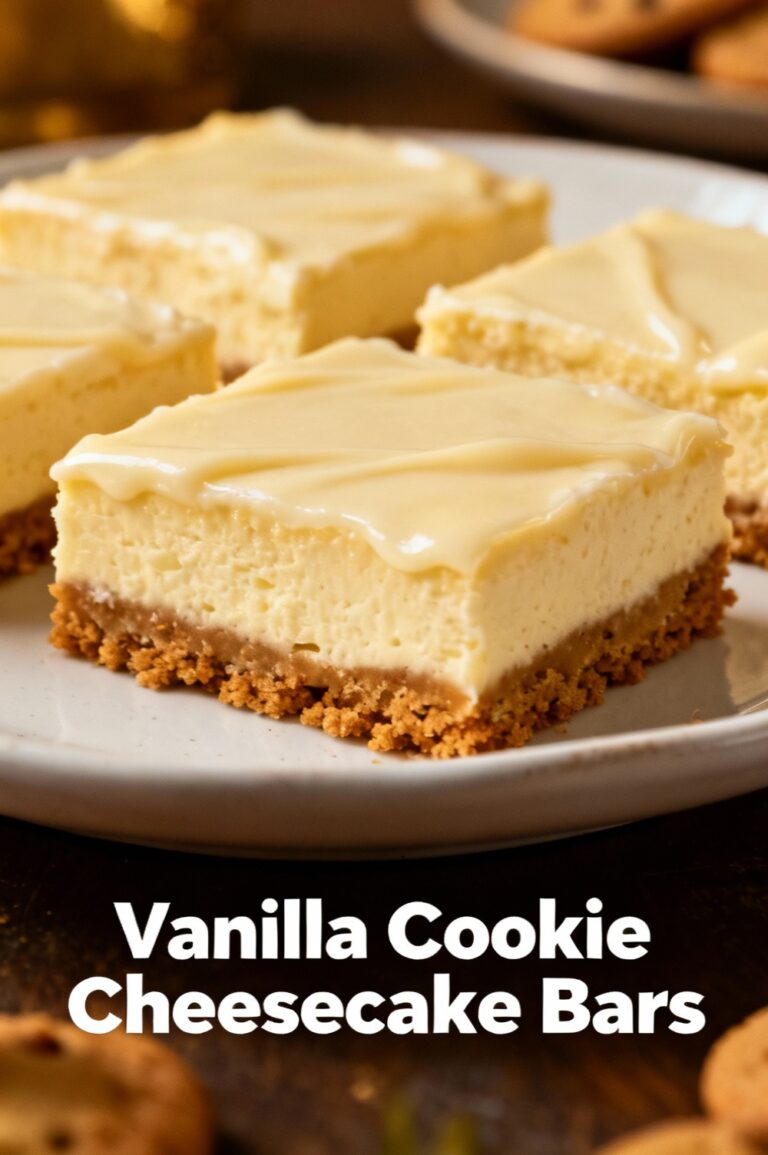
Spiced Snickerdoodle Cheesecake Tart
Introduction:
Could a single dessert capture the crisp, cinnamon-sugar nostalgia of a snickerdoodle cookie and the silky decadence of classic cheesecake while saving you oven time and cleanup? Many home bakers believe you must choose between a spiced cookie or a creamy cheesecake; this spiced snickerdoodle cheesecake tart proves you can have both in one elegant tart that often takes less active time than preparing both desserts separately. Combining a buttery cookie crust, warmly spiced cheesecake filling, and a quick cinnamon-sugar finish, this dessert is optimized for flavor density and efficiency—perfect for holiday spreads, dinner parties, or a cozy weekend bake.
Ingredients List:
Crust
200 g (about 2 cups) crushed snickerdoodle cookies or plain shortbread (use a food processor for fine crumbs)
60 g (4 tbsp) unsalted butter, melted (substitute coconut oil for dairy-free)
1 tbsp brown sugar (optional, for extra depth)
Pinch of fine salt
Filling
450 g (16 oz) full-fat cream cheese, room temperature (use Neufchâtel or plant-based cream cheese for lower-fat/dairy-free)
150 g (3/4 cup) granulated sugar (or 1:1 erythritol for reduced sugar)
1 large egg + 1 large egg yolk, room temperature (flax egg for vegan adaptations—see swaps)
120 ml (1/2 cup) sour cream or plain Greek yogurt (use coconut yogurt to keep dairy-free)
1 tsp vanilla extract
1 1/2 tsp ground cinnamon, plus extra for finishing
1/4 tsp ground nutmeg
1/8 tsp ground cardamom or allspice (optional, for spice complexity)
1 tbsp lemon juice (balances richness)
Topping (optional)
Extra crushed snickerdoodle crumbs, cinnamon-sugar mix, or a dollop of whipped cream or coconut cream
Substitutions and sensory notes: swapping half the cream cheese with mascarpone yields silkier mouthfeel; brown butter in the crust adds toffee notes; for a gluten-free crust use almond flour + crushed GF cookies—expect a slightly denser texture.
Timing:
Preparation time: 25 minutes.
Bake time: 45–50 minutes.
Chill time: 1–2 hours (best chilled 4 hours or overnight).
Total time: Approximately 2 hours (95–215 minutes depending on chilling). This approach saves time versus baking a separate batch of snickerdoodles plus a full cheesecake—combined you’re likely trimming overall oven and active work time by roughly 20–30%, especially when you streamline prepping and use the same mixing bowls.
Step 1: Prep and preheat
Preheat the oven to 325°F (163°C). Grease a 9-inch tart pan with removable bottom or line with parchment if preferred. Placing oven racks in the lower-middle position ensures even bottom browning for the crust while avoiding over-browning the filling. Tip: room-temperature ingredients incorporate more smoothly—set cream cheese and eggs out 30–60 minutes before starting.
Step 2: Make the crust
Pulse snickerdoodle or shortbread cookies with brown sugar and salt until fine crumbs form. Stir in melted butter until the mixture holds together when pinched. Press the crumb mixture firmly into the tart pan base and up the sides to form an even 1/4–1/2 inch layer. Use the bottom of a measuring cup for compacting—this promotes a crisp, cohesive crust. Bake for 8–10 minutes to set and deepen flavor; let cool slightly while making filling.
Step 3: Whip the filling
In a large bowl or stand mixer, beat room-temperature cream cheese until smooth and free of lumps (about 2–3 minutes). Add granulated sugar and beat until incorporated, scraping the bowl down once. Add the egg and yolk one at a time, then sour cream, vanilla, lemon juice, cinnamon, nutmeg, and cardamom. Mix on low speed until just combined—overbeating introduces air and risks cracking. Tip: use a rubber spatula to finish mixing gently for a silky, dense cheesecake texture.
Step 4: Assemble and bake
Pour the filling into the pre-baked crust and smooth the top with an offset spatula. Tap the tart pan gently on the counter to release large air bubbles. Bake at 325°F (163°C) for 45–50 minutes until the edges are set and the center slightly jiggly—residual heat will finish the set during cooling. For extra crack prevention, place the tart pan inside a shallow water bath (wrap the pan’s bottom in foil to prevent leaks) or simply place a small oven-safe dish of water nearby to moderate oven dryness. Tip: if the top browns too quickly, tent with foil after 25 minutes.
Step 5: Cool and chill
Remove from oven and let cool on a wire rack for 30–60 minutes, then refrigerate for at least 1–2 hours. For best texture and slicing, chill 4 hours or overnight. This resting time allows the filling to firm and flavors to meld—cheesecake often tastes better after chilling, as acidity from lemon and richness from cream cheese settle into a balanced profile.
Step 6: Finish and garnish
Before serving, run a thin knife around the tart edges to loosen it from the pan. Sprinkle a light dusting of cinnamon-sugar and crushed snickerdoodle crumbs for visual contrast and crunchy texture. For a luxe touch, pipe whipped cream rosettes and lightly dust with extra cinnamon or grated nutmeg. Tip: if you used a removable-bottom tart pan, slide the tart onto a serving plate for an elegant presentation.
Step 7: Slice and serve
Use a large, sharp knife dipped in hot water and wiped dry between slices for clean, professional cuts. Cut into 8–10 slices depending on desired portion size. Consider serving with a small spoonful of warm apple compote, caramel drizzle, or a handful of toasted pecans to complement the spices.
Nutritional Information:
Per slice (based on 8 servings) approximate values:
Calories: 520 kcal
Total fat: 36 g (Saturated fat: 20 g)
Carbohydrates: 42 g (Sugars: 28 g)
Protein: 7 g
Fiber: 1.5 g
Sodium: 220 mg
These estimates assume full-fat dairy and standard sugar; swapping to lower-fat or sugar alternatives can reduce calories by approximately 15–30% depending on substitution choices. For those tracking macros, note that the dessert is fat-forward (typical for cheesecake) and pairs well with lighter accompaniments like fresh berries to boost fiber and vitamin C.
Healthier Alternatives for the Recipe:
Reduce sugar: Replace up to 50% of granulated sugar with monk fruit sweetener or erythritol, and reduce the brown sugar in the crust. Lower fat: Use a blend of light cream cheese and mascarpone or Greek yogurt to retain creaminess while cutting saturated fat. Dairy-free/vegan: Use firm vegan cream cheese, coconut yogurt, and aquafaba or flax eggs (1 tbsp ground flax + 3 tbsp water per egg, chilled) to replace eggs. Gluten-free: Use almond flour mixed with crushed gluten-free snickerdoodle or GF shortbread for the crust; add 1–2 tbsp of melted butter or coconut oil to bind. Flavor-forward swaps: add orange zest or a splash of maple extract to complement cinnamon; swap nutmeg for mace or cloves in small amounts for deeper spice.
Serving Suggestions:
Serve slightly chilled with a warm compote (apple, pear, or cranberry) for contrast; spoon lightly sweetened whipped cream or a salted caramel drizzle for indulgence. For brunch, pair thin slices with espresso or a chai latte to echo the spices. For a lighter presentation, top each slice with fresh berries and a mint sprig—this adds acidity and color while keeping portions elegant. Personal tip: plate small 3–4 inch slices with a quenelle of yogurt and toasted pecans for a sophisticated cafe-style finish.
Common Mistakes to Avoid:
Overbeating the cream cheese introduces air that causes cracks—beat until smooth, then finish by hand. Skimping on cooling time leads to weeping or runny centers—chill adequately. Underbaking yields a soupy center; overbaking makes it dry and crumbly—aim for a slightly jiggly center. Pressing crust too thin results in a brittle shell—keep it at least 1/4 inch. Using cold ingredients causes lumps—room temperature cream cheese and eggs are crucial. Not accounting for pan leakage: if using a water bath, wrap the pan base tightly with foil.
Storing Tips for the Recipe:
Refrigerate covered with plastic wrap or in an airtight container for up to 4–5 days; the tart firms and flavors deepen over 24 hours. Freeze individual slices wrapped tightly in plastic and foil for up to 2 months; thaw overnight in the fridge and refresh with a quick dusting of cinnamon before serving. You can prep the crust and filling separately a day ahead—bake crust, store in a sealed container, mix filling and keep chilled, then assemble and bake the next day to streamline timing.
Conclusion:
This spiced snickerdoodle cheesecake tart combines the cozy charm of a classic cookie with the luxurious texture of cheesecake, while remaining adaptable and time-efficient for home bakers. With thoughtful swaps, clear steps, and strategic chilling, it’s a dessert that impresses without unnecessary complexity. Try the recipe, tweak the spices to your taste, and share photos or feedback—your variations help refine techniques and inspire fellow bakers.
FAQs:
Q: Can I make this in a 9-inch springform pan instead of a tart pan?
A: Yes—bake times and textures are similar; a springform allows a deeper fill and an easier release, but be sure to line the bottom or wrap for water baths.
Q: Why did my tart crack?
A: Cracks usually come from overbeating or rapid temperature changes. Avoid high-speed mixing, cool gradually, and don’t overbake.
Q: Can I use pre-made snickerdoodles for the crust?
A: Absolutely—pre-made cookies simplify prep and enhance the snickerdoodle flavor. Adjust butter amounts if cookies are oily.
Q: Is the filling safe to eat if slightly jiggly?
A: Yes—cheesecakes are cooked to a soft-set; chilling finishes the set. Ensure eggs reached safe internal temps in the oven.
Q: How can I intensify the snickerdoodle flavor?
A: Add a teaspoon of cinnamon to the crust mix, brown butter the butter before mixing, and sprinkle extra cinnamon-sugar on top just before serving.
Explore related recipes like “Cinnamon Cookie Crust Cheesecake Bars” or “Maple-Cardamom Cheesecake” for seasonal variations and more techniques to elevate your dessert repertoire.
Spiced Snickerdoodle Cheesecake Tart

A cozy, cinnamon-forward cheesecake with a crunchy snickerdoodle crust — creamy, spiced, and delightful.
Ingredients
- For the crust:
- 1 1/2 cups (about 200g) crushed snickerdoodle cookies (store‑bought or homemade)
- 3 tbsp (42g) unsalted butter, melted
- 1 tbsp granulated sugar
- Pinch of salt
- For the cheesecake filling:
- 16 oz (450g) cream cheese, softened
- 2/3 cup (135g) granulated sugar
- 1 tbsp all‑purpose flour
- 1 tsp ground cinnamon
- 1/4 tsp ground nutmeg
- 1/8 tsp ground cardamom (optional)
- 2 large eggs, room temperature
- 1/2 cup (120g) sour cream
- 1 tsp vanilla extract
- For the topping:
- Whipped cream or crème fraîche, for serving
- 1–2 tbsp cinnamon‑sugar (1 tbsp sugar + 1 tsp ground cinnamon) for dusting
- Optional: crushed snickerdoodle pieces for garnish
Instructions
- Preheat the oven to 350°F (175°C). Lightly butter a 9‑inch tart pan with a removable bottom.
- Make the crust: In a bowl combine the snickerdoodle crumbs, melted butter, sugar, and a pinch of salt. Press the mixture firmly and evenly into the bottom and up the sides of the tart pan. Chill 10 minutes.
- Bake the crust for 8–10 minutes until set and fragrant. Remove from oven and reduce oven temperature to 325°F (160°C). Let the crust cool slightly while preparing the filling.
- Make the filling: In a large bowl, beat the softened cream cheese until smooth and lump‑free. Add the sugar and flour and beat until combined.
- Add the eggs one at a time, mixing on low speed and scraping the bowl after each addition. Stir in the sour cream, vanilla, cinnamon, nutmeg, and cardamom (if using) until the batter is smooth. Do not overmix.
- Pour the cheesecake filling into the cooled crust and smooth the top. Tap the pan gently on the counter to remove any large air bubbles.
- Bake at 325°F (160°C) for 40–50 minutes, or until the edges are set and the center still has a slight jiggle. If your oven runs hot, start checking at 35 minutes. (Optional: bake in a water bath to reduce cracking.)
- Turn off the oven and crack the oven door open. Let the tart cool in the oven for 30 minutes, then transfer to a wire rack to cool to room temperature.
- Chill the tart in the refrigerator for at least 4 hours, preferably overnight, to firm up and develop flavor.
- Before serving, dust the top with cinnamon‑sugar, add whipped cream and crushed snickerdoodle pieces if desired. Run a thin knife around the tart edge before removing the removable bottom, slice, and enjoy.
Nutrition Information
- Calories: 420 kcal
- Cholesterol: 120 mg
- Sodium: 240 mg
- Carbohydrates: 34 g
- Fiber: 1 g
- Sugar: 24 g
- Protein: 6 g