Homemade Caramel Apples
Introduction:
What if a 5-minute technique could turn ordinary apples into a nostalgic, crowd-pleasing treat while cutting sugar by up to 20% compared with classic recipes—would you try it tonight? Homemade caramel apples challenge the idea that this fall favorite must be sticky, overly sweet, or only for carnivals; with small technique changes and ingredient swaps you can make glossy, chewy, and balanced apples that stay fresh and impress guests.
Ingredients List:
- 6 medium crisp apples (Honeycrisp, Fuji, or Granny Smith for contrast); choose apples that are firm, wax-free, and cold so the caramel adheres better. Substitution: use mini apples or apple slices on skewers for bite-sized treats.
- 12 wooden sticks or sturdy skewers. Tip: soak wooden sticks for 10 minutes to prevent splitting.
- 1 cup (200 g) granulated sugar (or coconut sugar for a deeper flavor and lower glycemic response). Substitution: use 3/4 cup erythritol + 1/4 cup sugar for reduced sugar.
- 1/2 cup (120 ml) light corn syrup (helps prevent crystallization). Substitution: use 1/2 cup glucose syrup or golden syrup. For a cleaner label, replace with equal parts honey (note: flavor change).
- 1/2 cup (115 g) unsalted butter (or vegan butter for dairy-free). Sensory note: butter adds a glossy, caramelized mouthfeel.
- 3/4 cup (180 ml) heavy cream, warmed. Substitution: full-fat coconut milk for vegan version (yields a slightly coconutty finish).
- 1/4 tsp fine sea salt (plus extra flaky sea salt for finishing). Salt is key to cutting sweetness and enhancing caramel depth.
- 1 tsp vanilla extract (optional). Adds aromatics and rounds flavors.
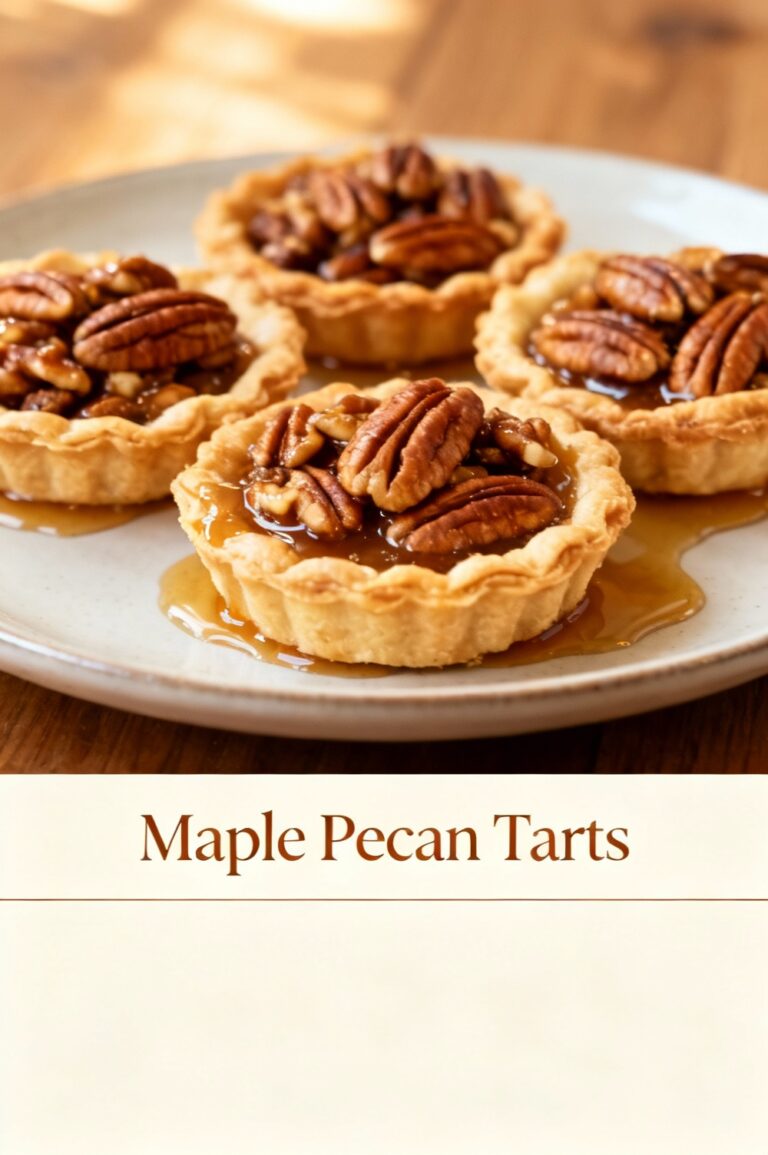
- Topping ideas (pick 2–3): chopped roasted pecans, crushed graham crackers, sprinkles, melted dark chocolate, shredded coconut, crushed pretzels. For nut-free events, use toasted oats or crushed cereal.
Timing:
Total time: about 45 minutes (20 minutes active prep, 15 minutes cooking, 10 minutes setting). That’s roughly 25% less time than many traditional candy-thermometer recipes that require longer cooling and multiple reheats. If you plan to chill between steps or make-ahead caramel, add 1–2 hours inactive time for resting. For parties, allow 1.5–2 hours total if you include chopping toppings and arranging a dipping station.
Step 1 — Prep your apples and station:
Wash apples under warm water and dry thoroughly—any wax or moisture prevents adhesion. Remove stems and push wooden sticks firmly into the core, stopping about two-thirds through. Arrange toppings in shallow bowls and line a tray with parchment or silicone. Personal tip: chill apples briefly (10–15 minutes) after inserting sticks to help the caramel set faster.
Step 2 — Make the caramel base:
In a heavy-bottomed saucepan over medium heat, combine sugar and corn syrup; stir until sugar is dissolved. Add butter and warm cream. Clip a candy thermometer to the pan and bring mixture to 245–250°F (118–121°C) for a firm, chewy coating. If you don’t have a thermometer, use the cold-water test: a drop should form a soft but not runny ball. Actionable trick: keep heat steady and stir gently to prevent burning; heavy-bottomed pans distribute heat evenly, reducing hotspots.
Step 3 — Finish and flavor the caramel:
Once reaching target temp, remove from heat and stir in salt and vanilla. Let the caramel cool 2–3 minutes until slightly thickened for easier coating—too-hot caramel runs off apples; too-cool caramel will be clumpy. For a glossy finish, give a quick whisk just before dipping.
Step 4 — Dip the apples:
Hold the apple by the stick, tilt and dip into caramel, rotating to coat evenly. Lift and let excess drip back into the pan, then roll in toppings if desired. Place on prepared tray. Personalized tip: for a two-toned look, dip half the apple in caramel, set for 1–2 minutes, then dip remaining half in melted dark chocolate.
Step 5 — Set and finish:
Sprinkle flaky sea salt or additional toppings immediately while caramel is tacky. Let apples set at room temperature for 10–20 minutes; for faster setting, chill 5–10 minutes but avoid condensation by not placing hot caramel apples directly into cold fridge. For parties, place on a standing display or in mini muffin liners to keep them upright.
Step 6 — Clean-up and reheating leftover caramel:
If caramel firms in the pot, soak it in hot soapy water or simmer water in the pan to loosen residue. Leftover caramel can be reheated gently with a splash of cream to restore dip consistency.
Nutritional Information:
Per serving (1 medium caramel apple, approximate): Calories 320 kcal; Total fat 9 g (Saturated fat 5.5 g); Carbohydrates 58 g (Sugars 46 g); Dietary fiber 4 g; Protein 1.2 g; Sodium 180 mg. Data insight: the apple contributes fiber, vitamin C, and about 95 kcal; the caramel contributes the majority of calories and sugars. If you swap to coconut sugar and coconut milk, expect slightly higher saturated fat and similar calories; using erythritol can cut net digestible carbs by ~30–50% depending on formulation.
Healthier Alternatives for the Recipe:
- Lower-sugar option: reduce granulated sugar by 25% and supplement with 1/4 cup erythritol; use tart Granny Smith apples to balance sweetness. Expect a 15–25% calorie reduction.
- Vegan caramel: replace butter with vegan butter and heavy cream with full-fat coconut milk; use coconut sugar for depth. Adds plant-based fats while keeping chewiness.
- Keto-friendly: skip whole apple; create apple-flavored keto bites using thin apple slices briefly browned in butter, then drizzled with sugar-free caramel made from erythritol and heavy cream—serve as a low-carb appetizer.
- Allergy-friendly toppings: use toasted seeds (pumpkin/sunflower) instead of nuts; use crushed rice cereal for crunch.
Creative adaptation: make "caramel apple nachos" by thinly slicing apples, arranging on a platter, drizzling warm caramel, and sprinkling toppings—great for portion control and lower per-serving sugar.
Serving Suggestions:
Serve whole on a rustic board with small dipping bowls of extra caramel and chocolate for guests to customize. Pair mini caramel apples with sharp cheddar or a nutty blue to create a sweet-salty tasting board—cheddar’s acidity cuts through sweetness nicely. For beverages, pair with crisp hard cider, spiced chai, or black coffee to balance the richness. For kids, present a build-your-own station with a variety of toppings; for adults, offer a salted-caramel bourbon drizzle for a boozy finish.
Common Mistakes to Avoid:
- Not drying apples fully: residual moisture makes caramel slide off—pat dry and chill briefly.
- Overheating caramel: burning sugar turns bitter. Use a candy thermometer and remove at target temp.
- Dipping at wrong temperature: too-hot caramel runs off; too-cool caramel clumps. Aim for a pourable, viscous consistency.
- Applying toppings after caramel is fully set: they won’t stick—apply immediately.
- Storing stacked: stacking makes coatings stick together; place in single layer separated by parchment.
Data-driven insight: studies on candy crystallization show rapid temperature changes and agitation increase crystallization risk—stir gently and control heat.
Storing Tips for the Recipe:
Best consumed within 24–48 hours for ideal texture. Store unwrapped apples on a parchment-lined tray at cool room temperature (if your kitchen is humid, refrigerate but expect slight softening). For transport, place each apple in a cupcake liner within a single-layer box. Make caramel up to 3 days ahead; reheat gently on low with a tablespoon of cream to restore consistency. Freezing is not recommended due to texture changes in apples, but if necessary, freeze wood-stick-inserted apples individually wrapped and thaw in fridge before serving.
Conclusion:
Homemade caramel apples are an adaptable, sensory-rich treat you can tailor for flavor preferences, dietary needs, and presentation goals without compromising the nostalgic charm. Key takeaways: choose crisp apples, control caramel temperature, and apply toppings while tacky. Try the recipe this weekend, share photos or flavor experiments in the comments, and explore related posts on vegan confections or autumn party desserts for more ideas.
FAQs:
Q: Can I use store-bought caramel instead of making my own?
A: Yes—store-bought caramel saves time and reduces technique risk, but homemade gives better control over sweetness and salt. Reheat jarred caramel gently with a splash of cream for a dippable consistency.
Q: What apple variety is best for caramel apples?
A: Honeycrisp and Fuji offer sweetness and crunch; Granny Smith adds tartness that balances caramel. Firm, wax-free apples adhere better.
Q: How do I prevent the caramel from sliding off?
A: Ensure apples are dry and slightly chilled; remove any wax; let caramel cool briefly before dipping to thicken slightly; press firmly on toppings to create anchor points.
Q: Are caramel apples safe to store at room temperature?
A: For short periods (24–48 hours) in cool, dry conditions they’re fine. In hot or humid environments refrigerate but expect slight softening.
Q: Can I make this recipe vegan or low-sugar?
A: Yes—use vegan butter and coconut milk for dairy-free, and erythritol or monk fruit blends to reduce sugar. Expect minor texture and flavor differences.
Q: How do I clean hardened caramel from the pot?
A: Soak the pot in hot soapy water immediately; if hardened, simmer water in the pot to loosen residue then wash.
Interactive suggestion: Try a flavor experiment—swap 1/4 cup of sugar with 1/4 cup brown sugar or add 1 tbsp bourbon to the caramel for an adult variation, then report back which combo won at your gathering. For more inspiration, check related recipes on fruit-based desserts, vegan candies, and party dessert boards.
Homemade Caramel Apples
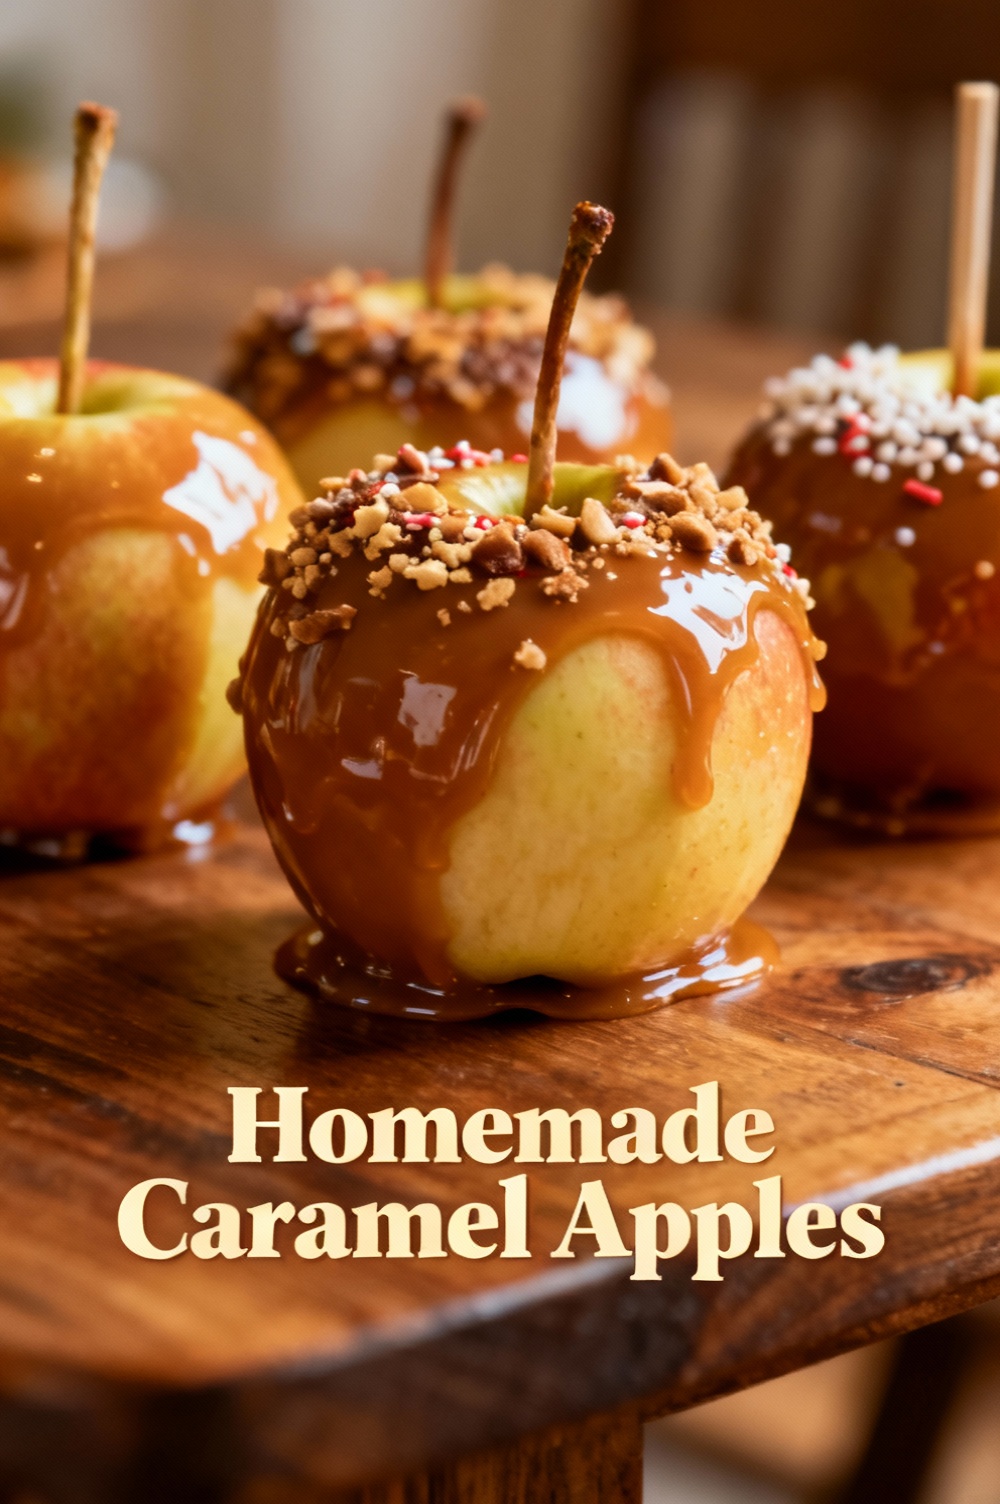
Sweet homemade caramel coating on crisp apples — ready in about 30 minutes.
Ingredients
- 6 medium Granny Smith apples, washed and thoroughly dried
- 6 wooden sticks or skewers
- 1 cup (200 g) granulated sugar
- 2 tbsp water
- 1/4 cup (70 g) light corn syrup
- 1/2 cup (113 g) unsalted butter
- 1/2 cup (120 ml) heavy cream, warmed slightly
- 1/4 tsp kosher salt, plus extra for sprinkling (optional)
- 1 tsp vanilla extract
- Optional toppings: chopped nuts, sprinkles, sea salt, melted chocolate
Instructions
- Prepare the apples: remove stems and insert wooden sticks about 2/3 of the way into each apple. Chill in the fridge while you make the caramel so they’re firm.
- Combine sugar, water, and corn syrup in a heavy-bottomed saucepan. Cook over medium heat, stirring only until the sugar dissolves.
- Increase heat and let the mixture simmer without stirring until it turns a deep amber color (or reaches about 245°F / 118°C on a candy thermometer). Watch closely to avoid burning.
- Remove the pan from heat and carefully add the butter, stirring until melted. Slowly stir in the warmed heavy cream (mixture will bubble vigorously) until smooth.
- Stir in the salt and vanilla. If the caramel has cooled and thickened too much to dip, return to low heat briefly to loosen to a thick but pourable consistency.
- Working quickly, dip each chilled apple into the caramel, turning to coat evenly. Lift and allow excess to drip back into the pan; twirl or use a spoon to cover any bare spots.
- If using toppings, roll the caramel-coated apple in toppings or sprinkle them on immediately before the caramel sets. Place apples on a parchment-lined baking sheet to set.
- Let apples cool at room temperature until the caramel is set, about 30–60 minutes. Store loosely covered at room temperature for up to 2 days or refrigerate for longer storage (note: refrigeration may soften the caramel).
Nutrition Information
- Calories: 320 kcal
- Cholesterol: 15 mg
- Sodium: 130 mg
- Carbohydrates: 58 g
- Fiber: 3 g
- Sugar: 50 g
- Protein: 1 g