Fudge-Filled Chocolate Thumbprints
Introduction
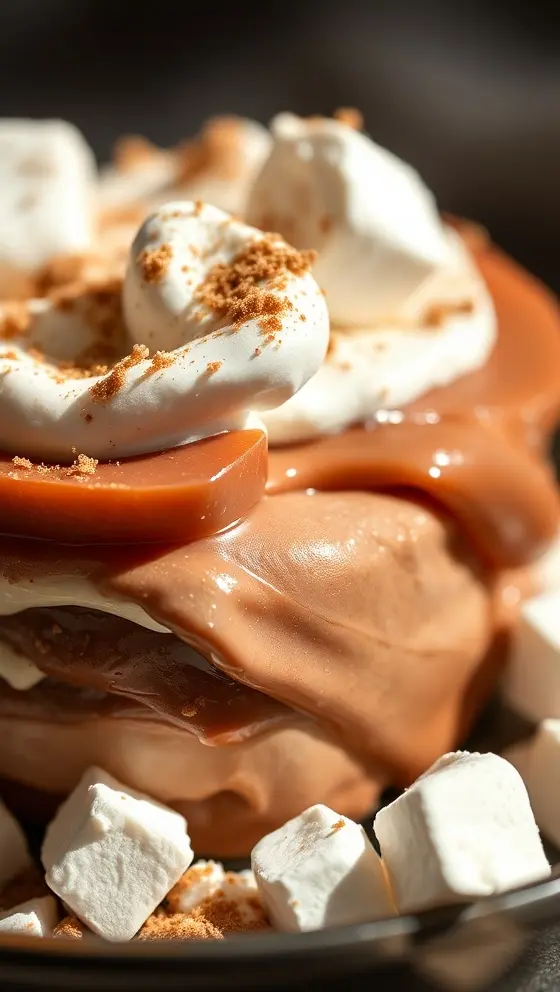
Are you ready to indulge in a sweet treat that will satisfy your chocolate cravings? Fudge-filled chocolate thumbprints are the ultimate dessert for those who love rich, decadent flavors wrapped in a soft cookie. This classic dessert features a dark chocolate cookie base that is tender yet chewy, creating the perfect contrast against the gooey fudge filling. Whether you’re baking for a special occasion or a casual family gathering, this recipe ensures that you impress everyone with its delightful presentation and mouthwatering taste. Let’s dive into the art of making these delectable fudge-filled chocolate thumbprints that will surely win hearts.
Ingredients List
To prepare these delightful fudge-filled chocolate thumbprints, you will need the following ingredients:
– 1 cup all-purpose flour
– 1/3 cup unsweetened cocoa powder
– 1/2 tsp baking powder
– 1/4 tsp salt
– 1/2 cup unsalted butter, softened
– 1 cup granulated sugar
– 1 large egg
– 1 tsp vanilla extract
– 1/2 cup chocolate fudge sauce (store-bought or homemade)
– Optional: powdered sugar for dusting
Timing
Before you start the baking process, it’s essential to understand the timing for this fudge-filled chocolate thumbprints recipe. The preparation time is approximately 20 minutes, while the baking time takes about 12-15 minutes. After baking, allow the cookies to cool for about 10 minutes before filling them with fudge. Overall, you can whip up a batch of these delicious cookies in just under an hour, perfect for both novice and experienced bakers.
Step-by-Step Instructions
Now that you have your ingredients ready, let’s get into the step-by-step instructions for creating these fudge-filled chocolate thumbprints. It’s simple, rewarding, and guaranteed to delight your taste buds.
1. Preheat your oven to 350°F (175°C) and line a baking sheet with parchment paper to prevent sticking.
2. Whisk together the all-purpose flour, cocoa powder, baking powder, and salt in a medium bowl. This will be your dry mixture.
3. In a separate bowl, cream the softened butter and sugar together until light and fluffy using an electric mixer or a whisk. This process usually takes about 2-3 minutes.
4. Add the egg and vanilla extract to the butter mixture, mixing until fully integrated.
5. Gradually incorporate the dry ingredients into the wet mixture, mixing until just combined. Be careful not to overmix, as this can lead to tough cookies.
6. Scoop small portions of dough, about a tablespoon each, and roll them into balls. Place them on the prepared baking sheet, leaving space between each ball.
7. Using your thumb or the back of a measuring spoon, create an indentation in the center of each dough ball. This is where you’ll fill the cookies with fudge later.
8. Bake in the preheated oven for 12-15 minutes, or until the edges of the cookies are set. Remove the cookies from the oven and let them cool on the pan for about 10 minutes.
9. Once the cookies are cool enough to handle, carefully fill each thumbprint indentation with chocolate fudge sauce.
10. For an extra touch, dust the cookies with powdered sugar before serving.
With these clear and concise step-by-step instructions, you’ll create irresistible fudge-filled chocolate thumbprints that are sure to be a hit!
Nutritional Information
Each fudge-filled chocolate thumbprint cookie is a delightful indulgence, and it’s useful to know its nutritional breakdown. Here’s an approximate nutritional analysis per cookie (based on a yield of 24 cookies):
– Calories: 120
– Total Fat: 6g
– Saturated Fat: 4g
– Cholesterol: 20mg
– Sodium: 28mg
– Total Carbohydrates: 16g
– Dietary Fiber: 1g
– Sugars: 8g
– Protein: 1g
Keep in mind that these values can slightly vary based on the exact ingredients you use. Enjoy these cookies in moderation as part of a balanced diet!
Tips
To elevate your fudge-filled chocolate thumbprints, consider these helpful tips:
– Use high-quality cocoa powder for a richer chocolate flavor. Dutch-processed cocoa will give a lovely dark color.
– Chill the cookie dough for at least 30 minutes before rolling and baking, which can help prevent the cookies from spreading too much.
– If you prefer a different filling, feel free to experiment! Nutella, caramel sauce, or peanut butter can all serve as delicious alternatives.
– Don’t skip the cooling step before filling the thumbprints. Filling warm cookies can lead to melting the fudge sauce, resulting in a messy presentation.
Alternative Methods
Exploring alternative methods for fudge-filled chocolate thumbprints can add exciting twists to this classic recipe. Here are a few suggestions:
– Gluten-Free Version: Substitute all-purpose flour with a gluten-free flour blend, such as almond flour or a specialized gluten-free baking mix.
– Vegan Adaptation: Replace butter with coconut oil or a vegan butter substitute, use a flax egg (1 tablespoon flaxseed meal mixed with 2.5 tablespoons of water), and opt for dairy-free chocolate fudge sauce.
– Baking Variations: Instead of making thumbprints, press dough into a mini muffin pan and add fudge on top for a chocolate fudge cookie cup.
Common Mistakes to Avoid
To ensure your fudge-filled chocolate thumbprints turn out beautifully, avoid these common pitfalls:
– Overmixing the Dough: Be gentle while mixing; overmixing can produce tough cookies.
– Baking Too Long: Keep an eye on the baking time. Cookies should be soft and slightly underbaked when removed from the oven.
– Not Creating Sufficient Indentations: Make sure to press down hard enough to make a noticeable indentation; otherwise, the fudge filling won’t fit properly.
Conclusion
Incorporating fudge-filled chocolate thumbprints into your dessert repertoire is not only rewarding but also immensely enjoyable! These cookies serve as an excellent choice for any occasion, making them a crowd favorite for parties or family gatherings. The rich chocolate flavor harmonizing with the gooey fudge elevates the entire experience, creating a little bite of happiness with each cookie. If you love these fudge-filled chocolate thumbprints as much as we do, be sure to return for more exciting recipes that will fuel your creativity in the kitchen.
FAQs
1. Can I use a different type of chocolate for the filling?
Absolutely! You can opt for milk chocolate, dark chocolate, or even white chocolate – the possibilities are endless.
2. How should I store the cookies?
Store your fudge-filled chocolate thumbprints in an airtight container at room temperature for up to a week or in the refrigerator for longer freshness.
3. Can I freeze these cookies?
Yes, you can freeze the dough before baking or freeze the baked cookies. Just make sure to seal them properly in an airtight container or freezer bag to prevent freezer burn.
4. What can I serve with these cookies?
Pair these cookies with a glass of milk, a scoop of vanilla ice cream, or a cup of coffee to create a delightful treat.
Get ready to bake these delightful fudge-filled chocolate thumbprints and enjoy their melt-in-your-mouth goodness, and don’t forget to come back to my website for more scrumptious recipes!
Fudge-Filled Chocolate Thumbprints

Ingredients
-
{% for item in ingredients %}
{% endfor %}
Instructions
-
{% for step in instructions %}
{% endfor %}
Nutrition Information
- Calories: kcal
- Protein: