Butterfinger Chocolate Truffles
Introduction
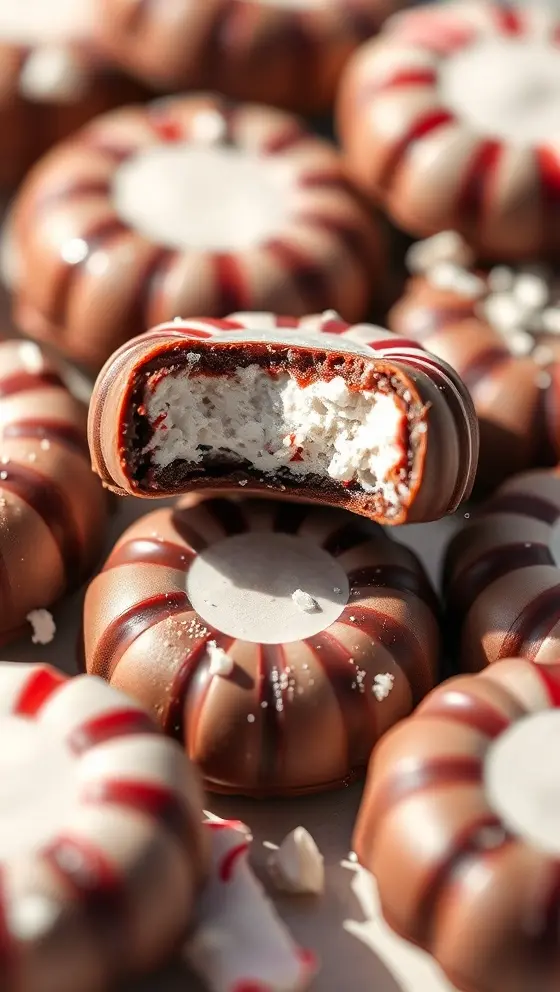
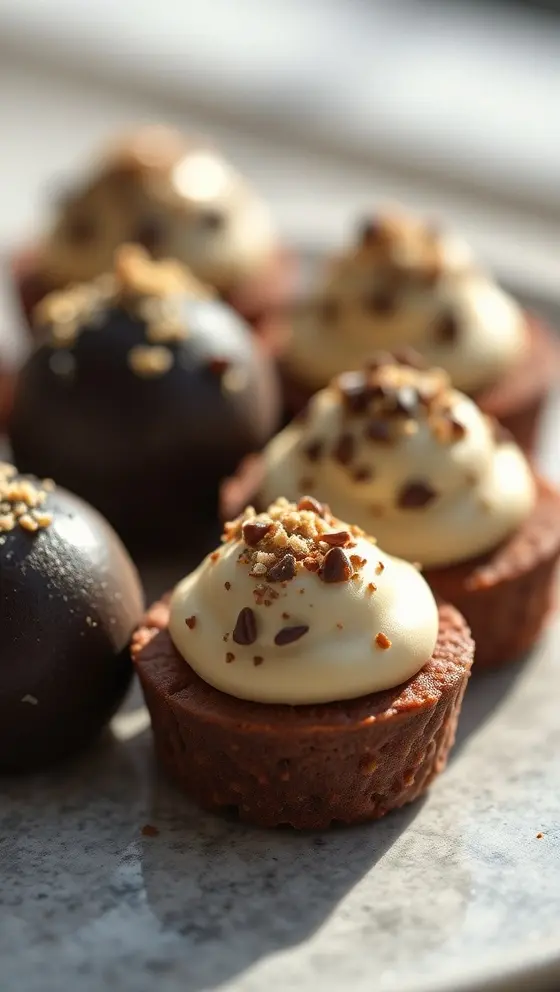
If you’re looking for a delectable treat to impress your friends and family, look no further than Butterfinger Chocolate Truffles. This indulgent dessert marries the satisfying crunch of Butterfinger with a creamy chocolate exterior, creating a bite-sized treat that’s sure to be a crowd-pleaser. Not only are these truffles easy to make, but they also provide a satisfying balance of flavors that can’t be ignored. Whether for a special occasion or just to indulge your sweet tooth, Butterfinger Chocolate Truffles are the perfect solution for anyone looking to add a splash of creativity to dessert time.
Ingredients List
To whip up a batch of these Butterfinger Chocolate Truffles, you will need the following ingredients:
– 1 cup Butterfinger candy bars, crushed
– 8 oz cream cheese, softened
– 2 cups chocolate chips (dark or semi-sweet)
– 1 teaspoon vanilla extract
– 1 tablespoon unsweetened cocoa powder (for dusting)
– Optional: Additional crushed Butterfinger for coating
Timing
When making Butterfinger Chocolate Truffles, timing is everything! The preparation, chilling, and rolling of these truffles can be done in approximately 1 hour, with some additional time for chilling. Here’s a rough breakdown:
– Preparation: 20 minutes
– Chilling: 30 minutes to 1 hour
– Rolling: 10 minutes
This means that you can have homemade truffles ready to serve in about an hour and a half, making them a fantastic last-minute dessert option!
Step-by-Step Instructions
Follow these straightforward instructions to create your very own Butterfinger Chocolate Truffles:
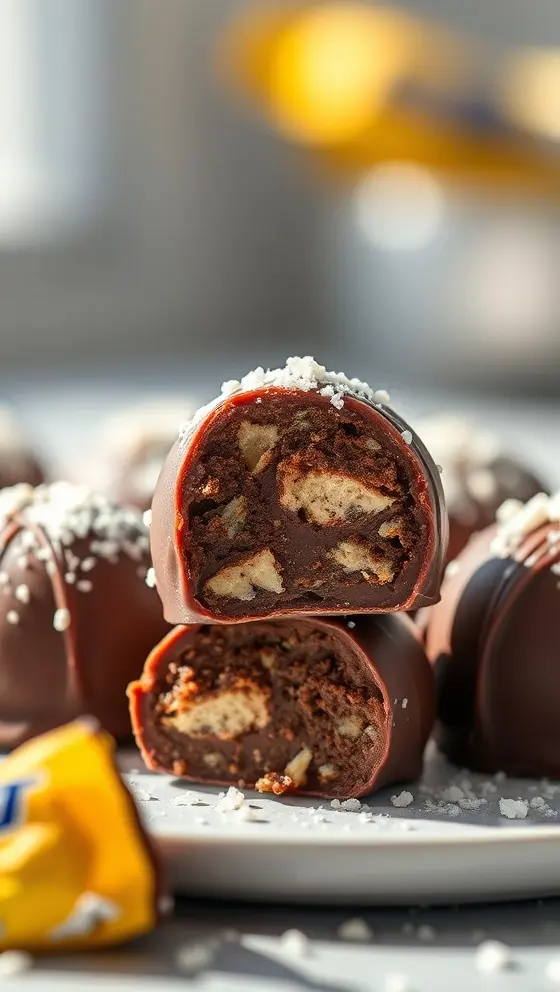
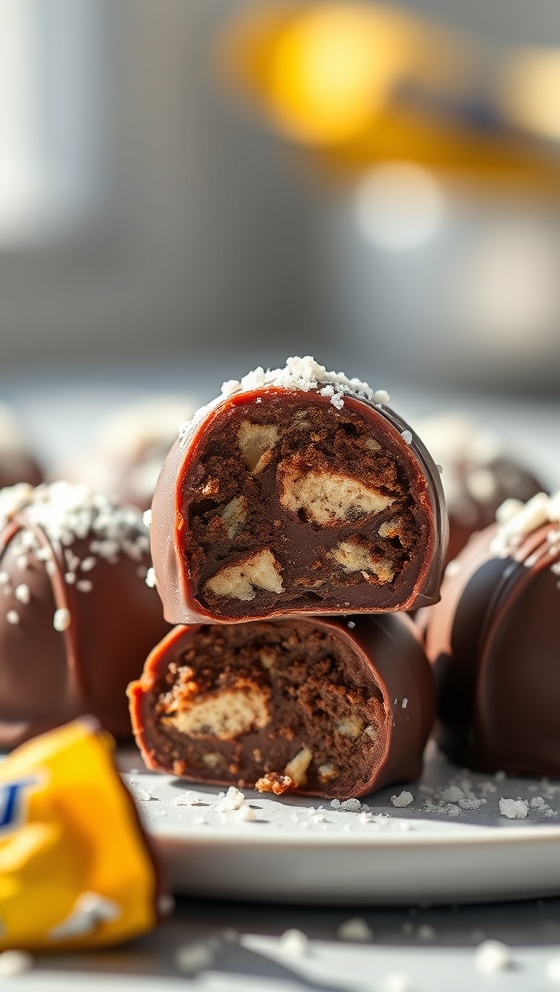
1. Prepare the Base: In a mixing bowl, combine the softened cream cheese, crushed Butterfinger candy bars, and vanilla extract. Mix well until a smooth and uniform mixture forms. This creamy base is essential for the delightful texture.
2. Chill the Mixture: Once combined, cover the bowl with plastic wrap and place it in the refrigerator for about 30 minutes. This chilling period allows the mixture to firm up, making it easier to shape later.
3. Melt the Chocolate: While the mixture chills, melt your chocolate chips. You can do this in the microwave in 30-second intervals, stirring in between, until the chocolate is fully melted and smooth. Alternatively, you can melt the chocolate using a double boiler for more control over the consistency.
4. Shape the Truffles: After the chilling period, remove the mixture from the refrigerator. With your hands, scoop out small portions (about 1 inch) and roll them into balls. You can refrigerate them again for about 10 minutes to ensure they retain their shape.
5. Coat in Chocolate: Dip each truffle into the melted chocolate, ensuring it’s fully coated. Use a fork to lift each truffle out, tapping off any excess chocolate.
6. Dust and Decorate: Before the chocolate hardens, roll each truffle in cocoa powder or sprinkle additional crushed Butterfinger over the top, adding a delightful crunch to each bite.
7. Chill Again: Return the truffles to the refrigerator to set for at least 15 minutes. Once set, they are ready to be served!
Following these step-by-step instructions will ensure your Butterfinger Chocolate Truffles turn out perfectly delicious and appealing to everyone!
Nutritional Information
For those who are health-conscious, here’s a breakdown of the nutritional information per serving (based on an estimated serving size of one truffle):
– Calories: 120
– Total Fat: 7g
– Saturated Fat: 4g
– Cholesterol: 15mg
– Sodium: 35mg
– Total Carbohydrates: 14g
– Dietary Fiber: 1g
– Sugars: 9g
– Protein: 2g
While it’s important to enjoy these delectable treats in moderation, knowing their nutritional value allows you to savor every bite without guilt.
Tips
To maximize the success of your Butterfinger Chocolate Truffles, consider these tips:
– Consistency Matters: Ensure the cream cheese is at room temperature to make mixing easier and achieve a smooth texture.
– Chilling is Key: Adequate chilling time is essential; it affects both the shaping process and the final texture.
– Experiment with Flavors: Feel free to add a pinch of sea salt or a dash of your favorite extract (like almond or orange) to the chocolate for an extra twist on the classic flavor.
Alternative Methods
If you’re looking for alternative methods to create Butterfinger Chocolate Truffles, consider these variations:
– Using White Chocolate: For a different flavor, dip the truffles in melted white chocolate instead of dark or semi-sweet chocolate. The sweetness of white chocolate pairs wonderfully with Butterfinger.
– Nutty Tweaks: Incorporate crushed nuts into the mixture or use them as a coating to add a different texture and flavor.
– Liqueur Infusion: For an adult version, add a splash of your favorite liqueur to the cream cheese mixture to create a rich, boozy truffle perfect for celebrations.
Common Mistakes to Avoid
To ensure your Butterfinger Chocolate Truffles turn out perfectly, keep an eye on these common pitfalls:
– Not Chilling Long Enough: Skipping the chilling time can lead to truffles that are too soft and difficult to shape.
– Overheating the Chocolate: Chocolate can seize if overheated; use lower power settings in the microwave and stir frequently.
– Using Cold Cream Cheese: From-the-fridge cream cheese is harder to blend, which can lead to a lumpy filling. Always soften it before mixing.
Conclusion
Butterfinger Chocolate Truffles are the ultimate sweet treat to make for any occasion. With their delightful crunch and decadent chocolate coating, these truffles offer a unique twist on traditional dessert recipes. Whether you prepare them for a celebration or a cozy night in, they are sure to bring joy to all who indulge. By following the steps outlined here, you will create a delicious batch that highlights the irresistible flavors of Butterfinger. We encourage you to try this recipe and return to our website for more delicious ideas and inspirations that are sure to tantalize your taste buds!
FAQs
How should I store Butterfinger Chocolate Truffles?
Store truffles in an airtight container in the refrigerator for up to one week. They can also be frozen for up to three months; just allow them to thaw in the refrigerator before serving.
Can I use other candy bars instead of Butterfinger?
Absolutely! Feel free to substitute with other candy bars you enjoy, such as Snickers, Reese’s, or even your favorite chocolate-covered treats.
Are these truffles suitable for gifting?
Definitely! These truffles make excellent homemade gifts. Package them in a decorative box or jar, and they’re sure to put a smile on anyone’s face.
What can I do with leftover melted chocolate?
You can pour leftover melted chocolate into molds to create chocolate shapes, drizzle it over popcorn, or simply let it harden and enjoy it as a snack.
Get started with making your own Butterfinger Chocolate Truffles today, and don’t forget to check back to our site for more exciting recipes! Happy cooking!
Butterfinger Chocolate Truffles
Ingredients
- 1 cup crushed Butterfinger candy bars
- 8 oz cream cheese, softened
- 2 cups chocolate chips
- 1 tablespoon vanilla extract
- Cocoa powder for dusting
Instructions
- In a mixing bowl, combine crushed Butterfinger candy and softened cream cheese.
- Add vanilla extract and mix until well combined.
- Chill the mixture in the refrigerator for 30 minutes.
- Once chilled, scoop out small portions and roll them into balls.
- Melt chocolate chips in a microwave or double boiler.
- Dip each truffle into the melted chocolate and place on a parchment-lined tray.
- Dust with cocoa powder and refrigerate until set.
Nutrition Information
- Calories: 150 kcal
- Protein: 2 g