Fall Chocolate PB Pumpkin Pops
Introduction
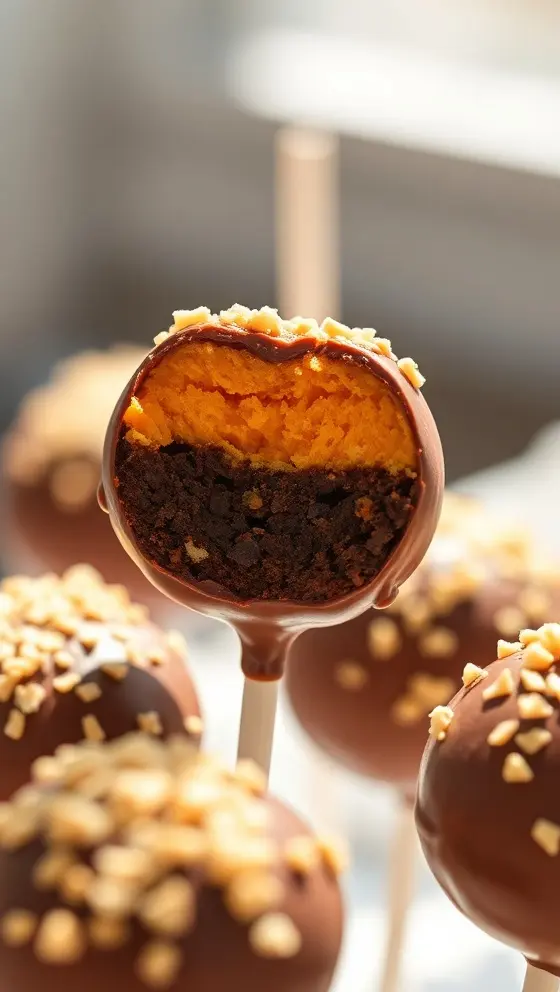
As the leaves begin to change and the air turns crisp, it becomes the ideal time to indulge in seasonal treats that capture the essence of fall. One delightful option that perfectly encapsulates autumn’s flavors is the Fall Chocolate PB Pumpkin Pops. Combining rich chocolate, creamy peanut butter, and the beloved taste of pumpkin, this treat not only reflects the spirit of the season but is also incredibly easy to prepare. Whether you are looking for a fun family project or a unique dessert for a gathering, these pops are sure to become a new favorite. So, roll up your sleeves and let’s dive into crafting these delicious treats!
Ingredients List
To prepare your Fall Chocolate PB Pumpkin Pops, you’ll need the following ingredients:
– 1 cup canned pumpkin puree
– 1/2 cup creamy peanut butter
– 1 teaspoon vanilla extract
– 1 teaspoon ground cinnamon
– 1/2 teaspoon ground nutmeg
– 1/4 teaspoon salt
– 1 cup chocolate chips (dark or milk chocolate)
– 2 tablespoons coconut oil (optional, for smoother chocolate)
– Lollipop sticks or popsicle sticks
– Sprinkles or chopped nuts for decoration (optional)
Timing
Creating these delectable Fall Chocolate PB Pumpkin Pops typically involves around 30 minutes for preparation, plus an additional 2-3 hours of chilling time in the freezer. This allows the pops to firm up and makes them easier to dip in chocolate. A little patience will reward you with deliciously satisfying treats that everyone will love!
Step-by-Step Instructions
Now that you have gathered all your ingredients, let’s outline the simple process to make your Fall Chocolate PB Pumpkin Pops.
1. Mix the Base: In a medium bowl, combine the canned pumpkin puree, creamy peanut butter, vanilla extract, ground cinnamon, nutmeg, and salt. Stir until the mixture is smooth and fully combined.
2. Shape the Pops: Once mixed, scoop out portions of the pumpkin mixture and roll them into small balls, about 1 inch in diameter. Place these balls on a parchment-lined baking sheet. Insert a lollipop stick into each ball gently, ensuring it goes in without breaking the pop.
3. Freeze the Pops: Place the tray in the freezer for at least 2 hours. This step is crucial as it hardens the pops, allowing them to maintain their shape when coated in chocolate.
4. Melt the Chocolate: In a microwave-safe bowl, combine the chocolate chips and coconut oil (if using). Microwave in 30-second intervals, stirring in between, until the chocolate is fully melted and smooth.
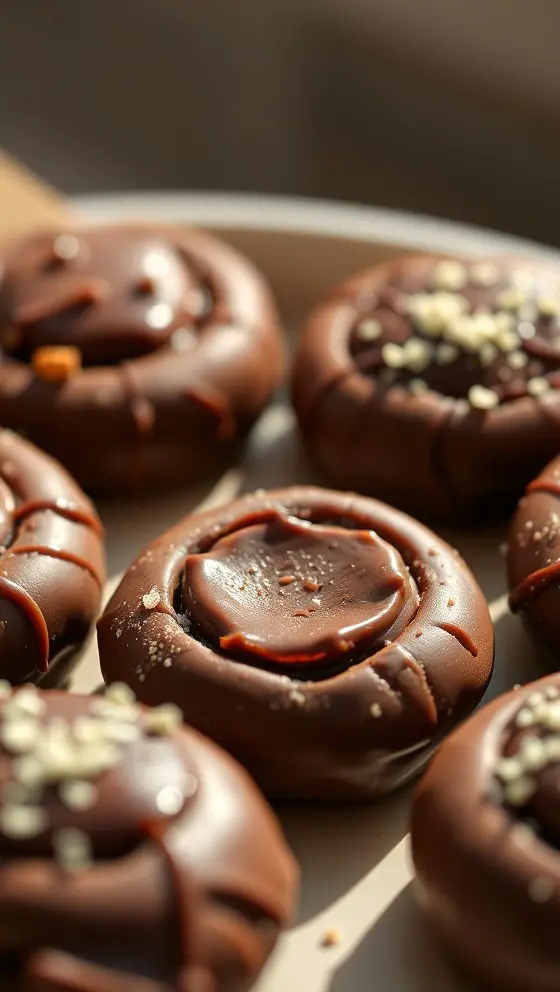
5. Choc Dip: Remove the pumpkin pops from the freezer. Dip each pop in the melted chocolate, allowing any excess to drip off. You can sprinkle chopped nuts or colorful sprinkles on top before the chocolate sets for a festive touch.
6. Final Chill: Place the dipped pops back on the parchment-lined baking sheet. Return them to the freezer for an additional 30 minutes to let the chocolate harden completely.
You’ve made a batch of Fall Chocolate PB Pumpkin Pops! Pop them into a serving container or keep them wrapped in the freezer for a delightful treat anytime.
Nutritional Information
Each Fall Chocolate PB Pumpkin Pop can be a nutritious option when consumed in moderation. Here’s a quick breakdown of the approximate nutritional profile per pop (this can vary based on specific brands and quantities used):
– Calories: 120
– Protein: 3g
– Total Fat: 7g
– Carbohydrates: 12g
– Fiber: 2g
– Sugars: 4g
These pops are not only delicious, but they also offer the health benefits of pumpkin, such as being rich in fiber, vitamins, and minerals, making them a smart indulgence!
Tips
To elevate your Fall Chocolate PB Pumpkin Pops even further, consider these handy tips:
– Experiment with Spices: While cinnamon and nutmeg are classic fall flavors, you can add a pinch of ginger or allspice for an extra twist.
– Choose Quality Chocolate: The type of chocolate you use will significantly affect the overall taste. Opt for high-quality dark chocolate for a richer flavor or white chocolate for a sweeter treat.
– Presentation is Key: Get creative with decorations! Use edible glitter or seasonal-shaped sprinkles to make your pops visually stunning, perfect for gatherings.
Alternative Methods
If you’re looking for variety in your fall treats, consider these alternative methods for creating pops:
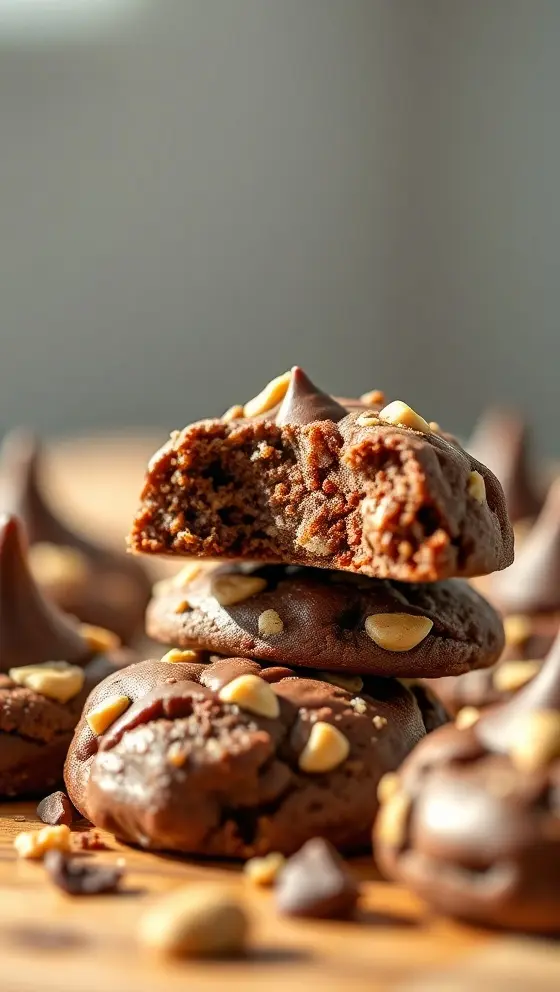
– Add Ingredients: Mix in some mini chocolate chips or chopped peanuts into the pumpkin mixture for added texture.
– Healthy Swaps: Use almond butter instead of peanut butter for a nut-free option or substitute cacao powder for a healthier chocolate flavor.
– Storing Options: Wrap individual pops in wax paper and store them in an airtight container in the freezer to maintain their freshness.
Common Mistakes to Avoid
While making Fall Chocolate PB Pumpkin Pops is straightforward, common pitfalls to steer clear of include:
– Over-melting Chocolate: Be cautious while melting the chocolate. Overheating can turn it grainy. Stir frequently and stop heating as soon as it’s mostly melted.
– Skipping the Freezing Step: Don’t rush through the freezing stage. If your pops are not adequately frozen, the mixture may fall apart during dipping.
– Inadequate Coating: Be sure to dip each pop completely into the chocolate; an incomplete coating might leave the pumpkin mixture exposed, risking melting at room temperature.
Conclusion
The Fall Chocolate PB Pumpkin Pops are a splendid way to celebrate autumnal flavors in a fun, portable treat. Their ease of preparation and delightful taste makes them a perfect option for parties, family gatherings, or simply enjoying on a cozy fall day. By following these instructions, you’ll create something not only delicious but also reminiscent of the warmth and colors of the season. Remember to share your creations with friends and family! For more exciting recipes that will inspire your culinary adventures, feel free to return to our website and discover new seasonal delights.
FAQs
Can I make these pops ahead of time?
Absolutely! These pops freeze beautifully, so you can prepare them a few days in advance of your event.
What can I substitute for peanut butter?
If you have nut allergies or preferences, sunflower seed butter is a great alternative!
How long do these pops last in the freezer?
They can last up to two months in the freezer when stored properly in an airtight container.
Can I double the recipe?
Of course! Feel free to scale the ingredients up to make more pops for gatherings or just to enjoy later.
By embracing the flavors of the season with these Fall Chocolate PB Pumpkin Pops, you create not just a treat but an experience of autumn’s joy, enticing you to embrace your kitchen for more delicious adventures!
Fall Chocolate PB Pumpkin Pops

Ingredients
- 1 cup pumpkin puree
- 1/2 cup peanut butter
- 1/2 cup chocolate chips
- 1/4 cup honey or maple syrup
- 1 teaspoon vanilla extract
- 1/2 teaspoon cinnamon
- 1/4 teaspoon nutmeg
- 1/4 teaspoon salt
- Popsicle sticks
Instructions
- In a mixing bowl, combine pumpkin puree, peanut butter, honey, vanilla, cinnamon, nutmeg, and salt.
- Melt chocolate chips in a microwave-safe bowl, stirring until smooth.
- Dip popsicle sticks into melted chocolate and insert into the pumpkin mixture.
- Freeze for at least 2 hours or until solid.
- Remove from freezer and dip in remaining chocolate if desired.
- Enjoy your Fall Chocolate PB Pumpkin Pops!
Nutrition Information
- Calories: 120 kcal
- Protein: 3g